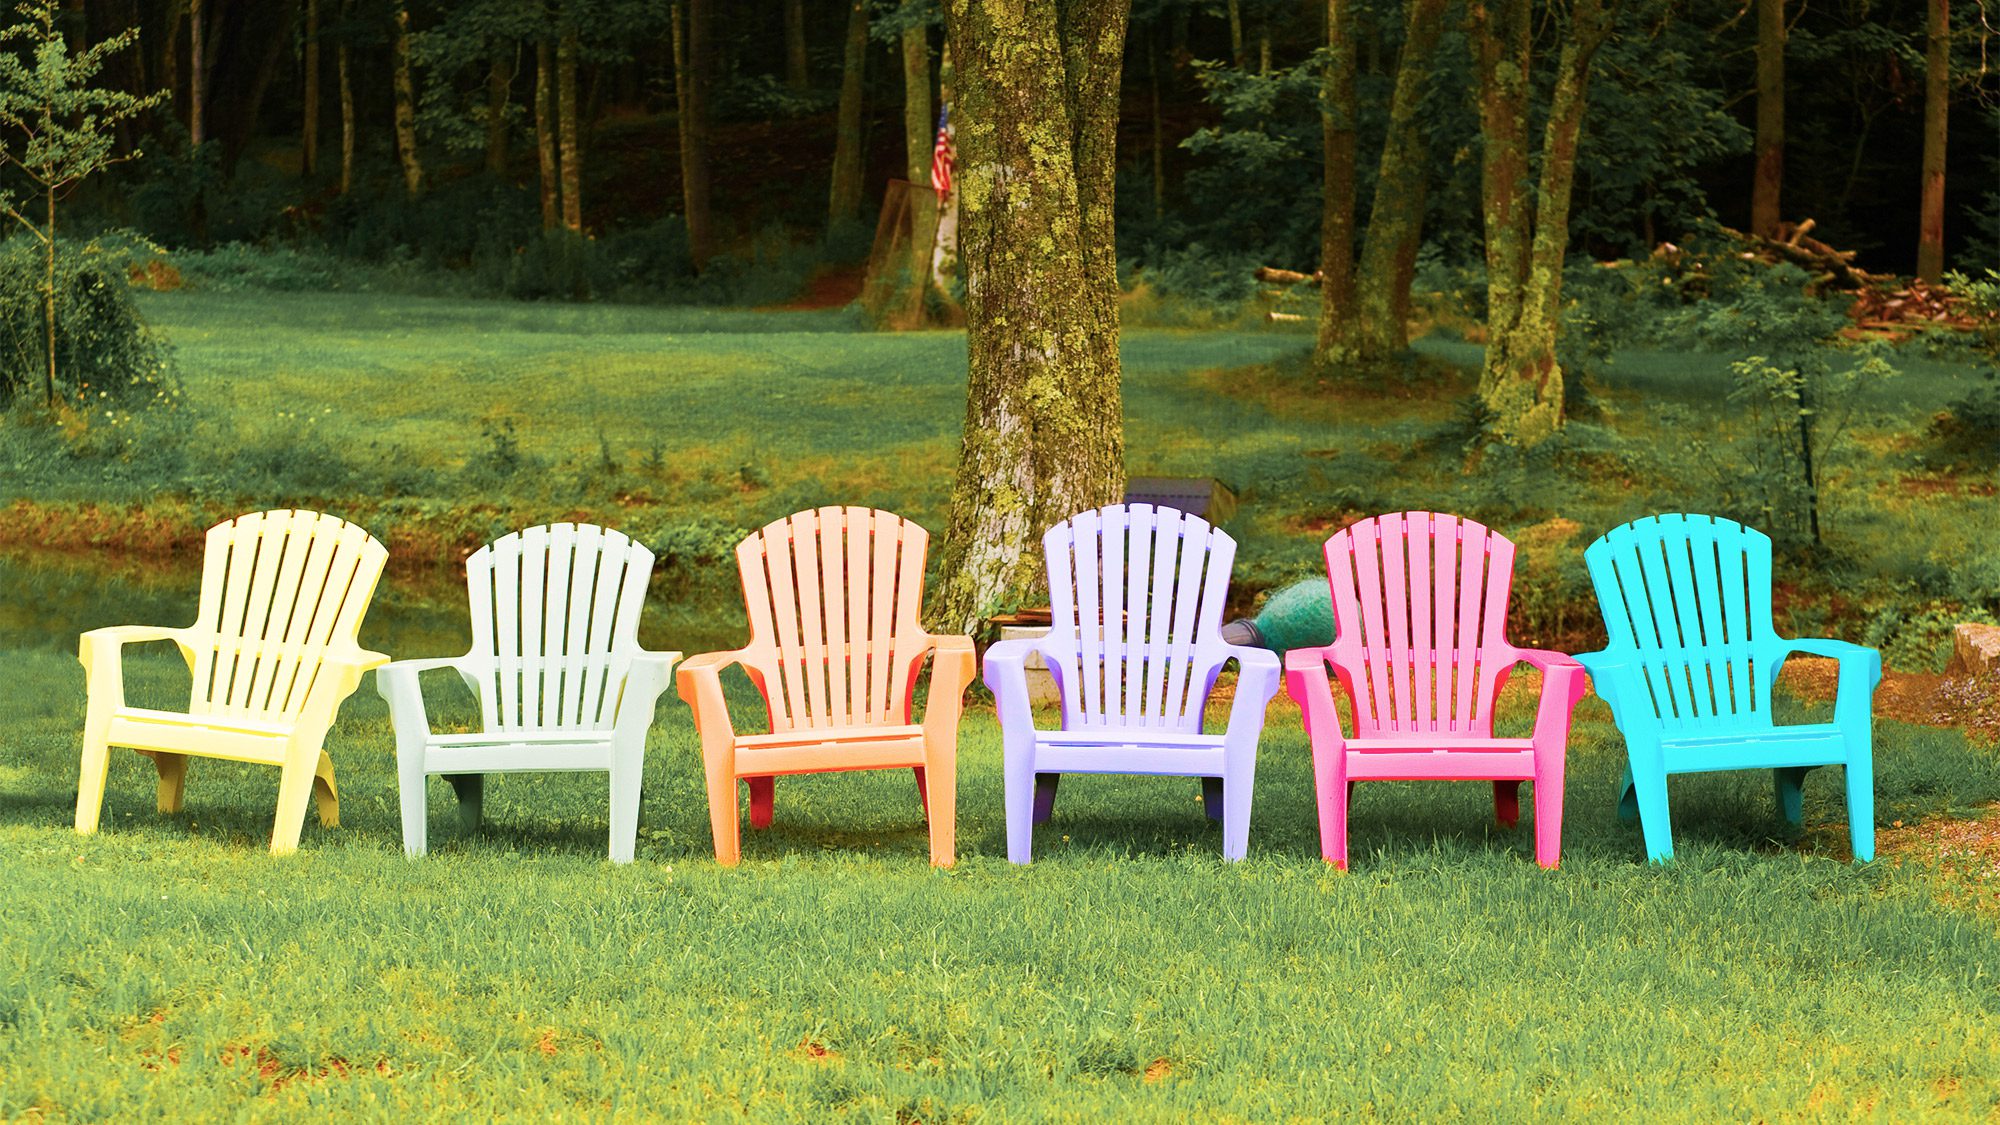
How to paint plastic? This is one of those questions that few people think about, probably because many think it is not possible. Well guess what? Turns out, it’s a simple, inexpensive way to quickly give outdoor furniture, kids’ play sets, or other plastic furniture in your home a quick makeover. Here are step-by-step instructions for painting plastic patio furniture to give you an idea of ​​how to transform any element in your home that calls for a new color.
- A bucket of soapy water
- Scrub brush
- Mineral spirits and rag, or plastic primer
- Clear sandpaper
- Rubber gloves
- Choice of spray paint color in exterior formulation
Step 1: clean up
Clean the selected item with soapy water and a scrub brush to remove any dirt, grime or residue. If the mold is not moving, also consider using a mixture of bleach and water to remove those stubborn stains. Then rinse and let dry completely.
Step 2: Lightly sand the surface
“If a surface is very shiny, it should be lightly sanded with fine-grit sandpaper before spraying to increase adhesion,” explains Matt michaels, specialist and spokesperson for Lowe’s. Wiping down the surface with mineral spirits can also help, especially if the plastic is fairly new.
Step 3: start painting
If things are clean and dry, it’s time to paint! Experts agree that spray paint is probably the easiest and cheapest way to update your plastic items.
“There’s a difference between exterior and interior spray paint, so just make sure you choose the right type for your needs,†Michaels explains.
For best results, you can use a primer first.
“The primer spray helps the adhesion of the topcoat,†says Michaels. Otherwise, the easiest way is to choose a spray paint (like the Valspar Color Radiance spray paint line) which is paint and primer in one can.
Shake the can, then start spraying.
“Do not spray continuously or in random patterns,†Michaels advises. “Instead, start on one side of the surface and spray side to side.” Keep a constant distance from the surface and overlap with each pass. Also keep the layers thin to avoid sagging and dripping
Step 4: let dry, then paint again
Wait one to two minutes between each coat. Apply as many coats as you want in 24 hours to achieve the finish you want.
You can also add an optional clear top coat for shine, durability and UV protection. Simply wait 24 hours before applying the clear coat, as this will give the underlying colored paint time to harden. You might worry that it will look slightly milky at first, but rest assured that it will turn clear as it dries. For best results with gloss, apply four to six thin coats, waiting a minute between each.
Comments are closed.